Building a DIY AI Security Cam: Watch Your Space, Your Way
In a world where every gadget wants to phone home to some corporate server, a security camera you control is a survival essential.
No subscriptions, no cloud nonsense—just a low-cost, AI-powered setup that keeps eyes on your property.
Here’s how to build one with a Raspberry Pi, a camera module, and some free software. It’s not plug-and-play, but it’s yours.
What You’ll Need
- Raspberry Pi (4 preferred, 3 works): The brain. $35-$60 depending on model and availability.
- Raspberry Pi Camera Module (v2 or HQ): $25-$50. A cheap USB webcam can sub in if you’re scavenging.
- MicroSD Card (16GB+): $5-$10. Holds the OS and footage.
- Power Supply: 5V 3A USB-C for Pi 4, or whatever your model needs. Scrounge an old phone charger if you’ve got one.
- Case or Enclosure: 3D print it, use an old plastic box, or just duct-tape it. Keep it weatherproof if outdoors.
- Computer: For setup. Anything with an SD card slot and internet.
- Optional: Motion sensor (PIR, ~$5) or LED for night vision hacks.
Total cost: ~$70-$120 if buying new. Less if you’re a hoarder.
Step 1: Set Up the Pi
Grab the Raspberry Pi OS (Lite version—no bloat) from the official site.
Flash it to your MicroSD with a tool like Balena Etcher.
Plug the card into the Pi, connect a monitor/keyboard for first boot (or SSH in if you’re fancy), and run:
sudo apt update && sudo apt upgradeSet a strong password and Wi-Fi if you’re not hardwiring it. No cloud accounts needed.
Step 2: Hook Up the Camera
Attach the camera module to the Pi’s CSI port—gentle, those ribbons snap easy. Enable it with:
sudo raspi-configNavigate to “Interface Options,” turn on the camera, and reboot. Test it:
raspistill -o test.jpgIf you see a photo, you’re golden. USB webcam? Just plug it in; the Pi usually sorts it out.
Step 3: Add AI Smarts
We’re using MotionEye for basic video and Frigate for AI detection—no corporate AI nonsense, just open-source grit. Install MotionEye first:
sudo apt install motion
pip install motioneye
sudo motioneye_init
Access it via your Pi’s IP (e.g., http://192.168.x.x:8765) from any browser on your network. Set up live streaming and motion triggers.
Now, Frigate for the AI. It spots people, cars, or critters using lightweight object detection. Install Docker (Frigate’s home):
curl -fsSL get.docker.com | shGrab Frigate’s config and model files from its GitHub, tweak the config.yml for your camera (RTSP stream from MotionEye works), and run:
docker run -d --name frigate ghcr.io/blakeblackshear/frigate:stablePoint a browser to your-pi-ip:5000 for the dashboard. It’ll flag anything that moves and knows what it is. No internet required—runs local.
Step 4: Store Footage
Skip the cloud. Add a USB drive or use the SD card (it’ll wear out faster). In MotionEye, set a storage path under settings.
Frigate can dump clips there too. Check disk space weekly—old footage auto-deletes if you set it up right.
Step 5: Power and Placement
Run it off a battery pack (5000mAh gives ~8 hours) or solar if you’re off-grid.
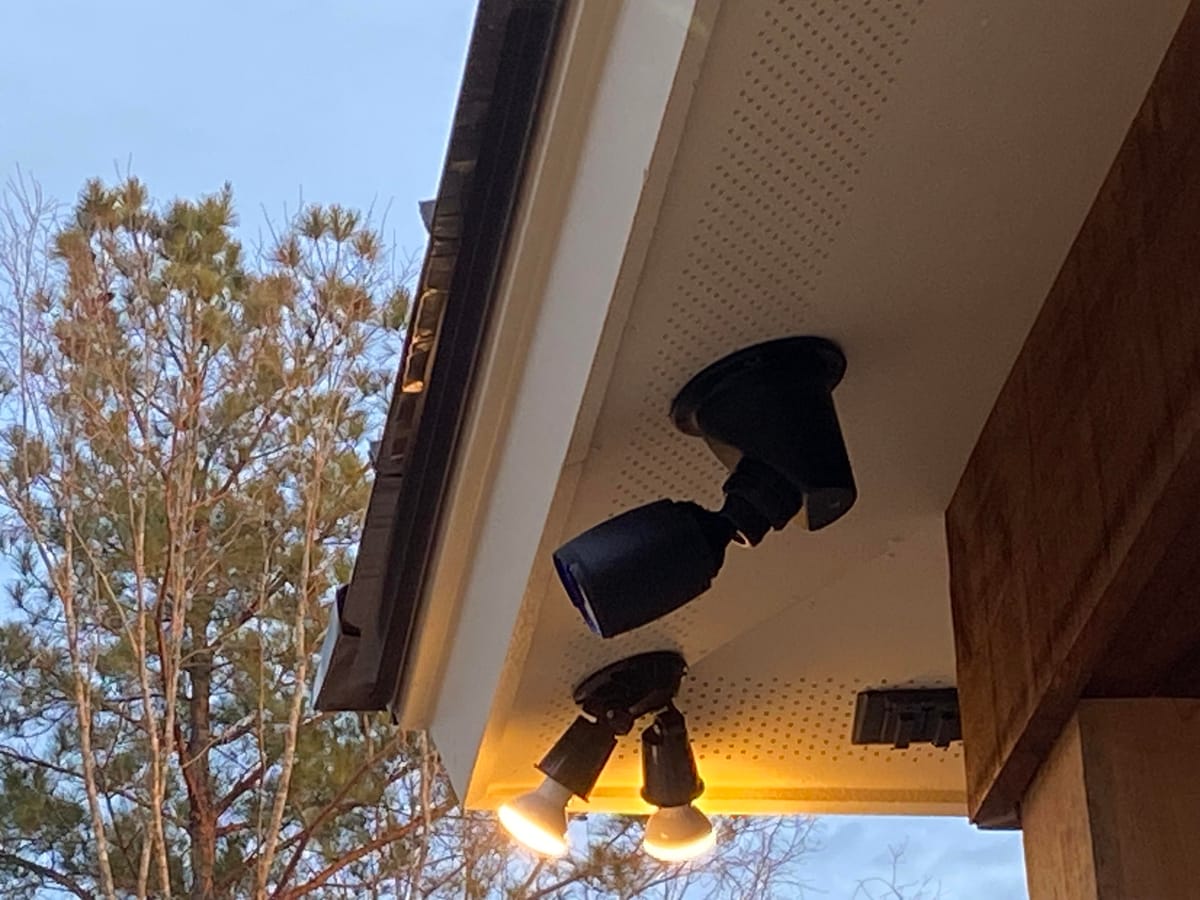
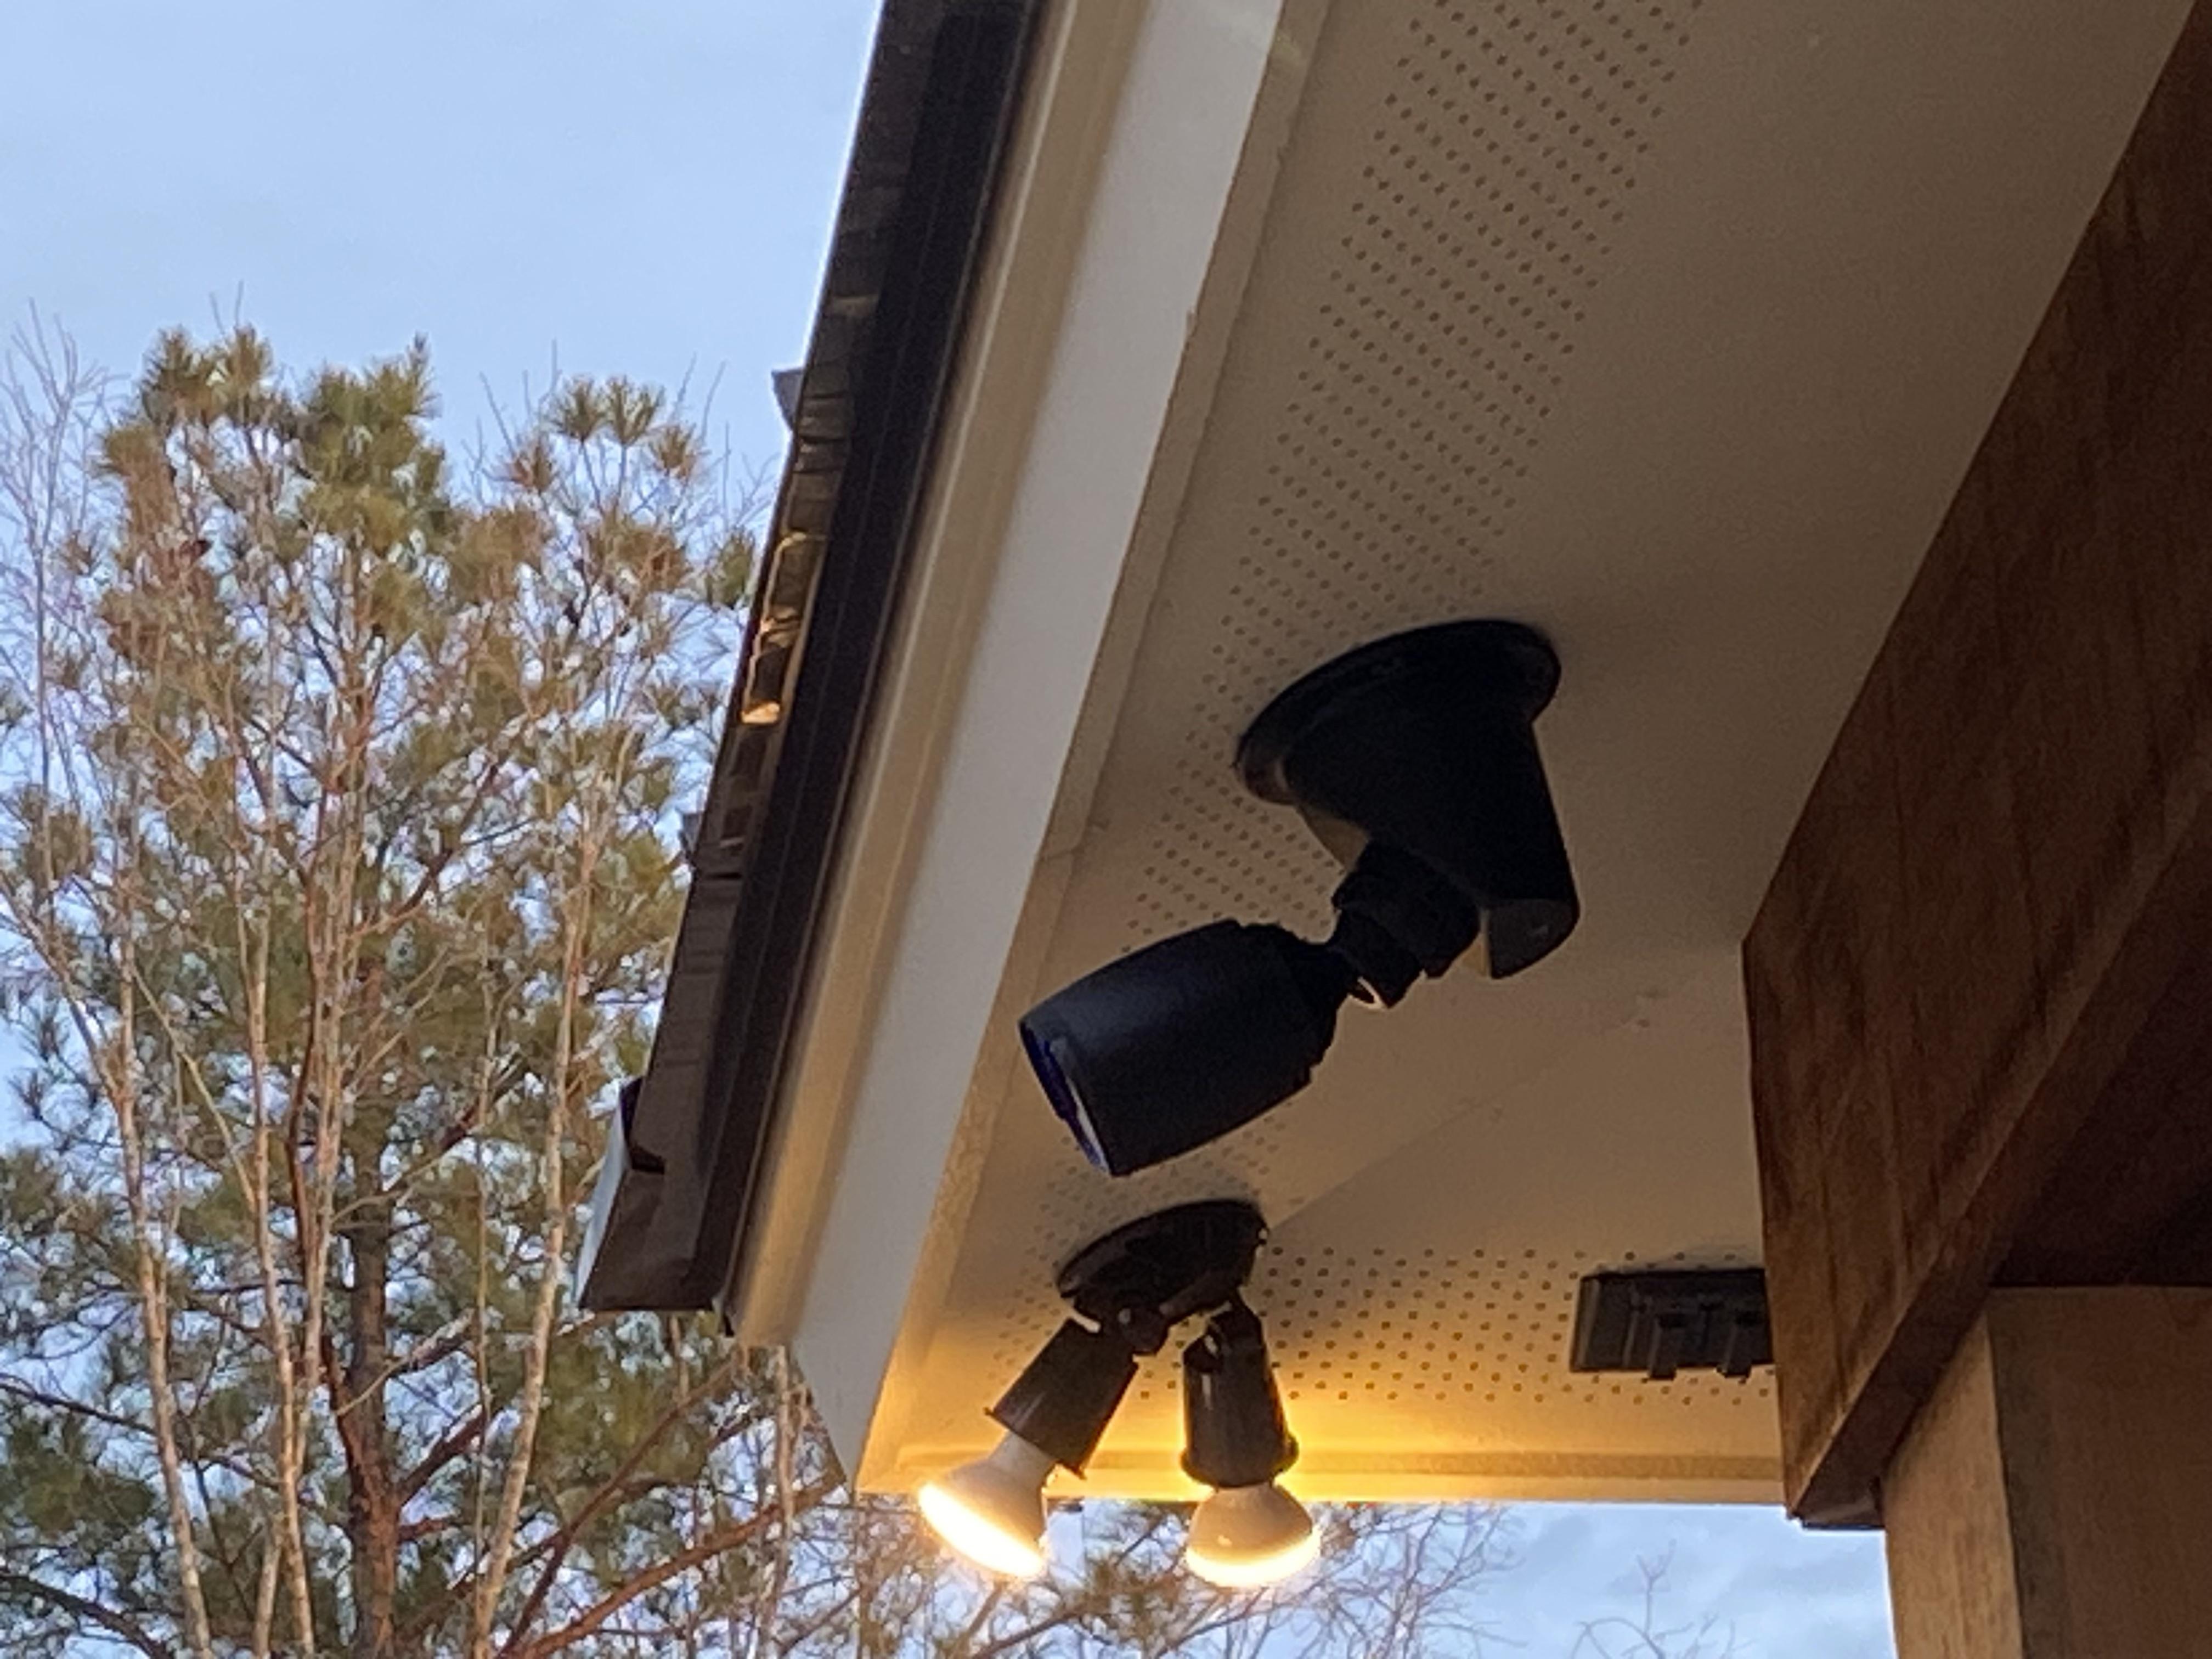
Find a mount that works for your situation.
Mount it high, angled to cover choke points—driveway, doors, whatever.
Camouflage it if you’re paranoid; a birdhouse shell works.
Bonus: Harden It
- Local Only: Block internet access in your router settings. It doesn’t need it.
- Alerts: Hook Frigate to a Telegram bot or email script for pings when it spots trouble.
- Night Vision: Solder an IR LED and toggle it with a Pi GPIO pin. Code’s online.
Why Bother?
This beats a $100 corporate cam that locks you into fees and tracks your every move. It’s not perfect—tweak it as you go—but it’s yours.
No one’s watching you watch your land.
In a pinch, it’s a skill: adapt it for trail cams, bugout hides, or bartering tech know-how.
Thanks for reading ON SURVIVAL! Subscribe for free to receive new posts and support my work.


Comments ()