Post-Apocalypse Chemistry: How to Make Soap, Glass, and Glue at Home

In a world where supply chains have crumbled and store shelves are bare, knowing how to craft essential items from natural resources can be a lifesaver.
Today, we’re diving into the chemistry of survival with simple, time-tested recipes for making soap, glass, and glue using materials you can find in a post-apocalyptic landscape.
These methods rely on basic chemical principles and accessible ingredients, perfect for a DIY approach in tough times.
ON SURVIVAL is a reader-supported publication. To receive new posts and support my work, consider becoming a free or paid subscriber.
1. Soap: Cleanliness from Ashes and Fat
Soap is a must for hygiene, and you can make it with just two main ingredients: fat and lye.
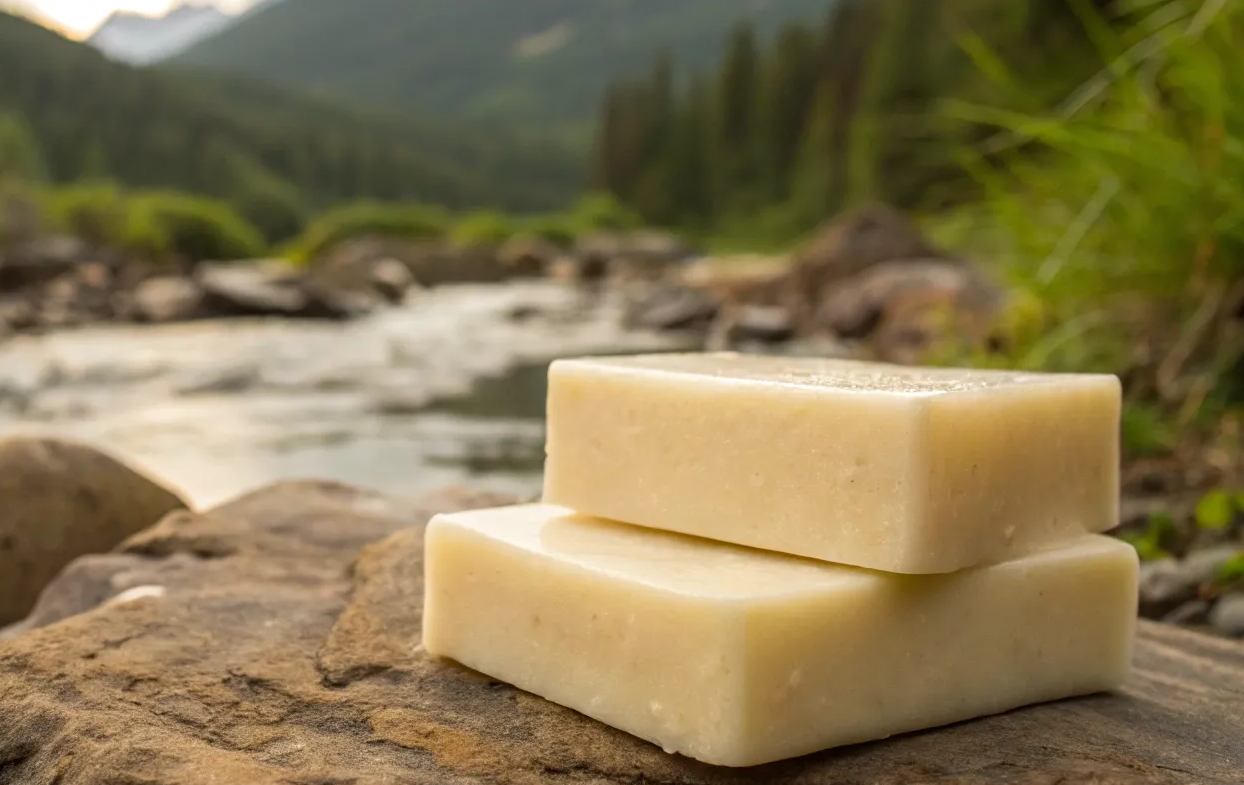
This process, called saponification, transforms oils and a strong base into a cleansing bar.
Saponification is the chemical process that converts esters into carboxylate salts (soap) and an alcohol through alkaline hydrolysis, a reaction typically using a strong base like sodium hydroxide (NaOH) or potassium hydroxide (KOH). This fundamental reaction is how soap is traditionally made from fats, which are esters of long-chain fatty acids and glycerol.
Here’s how to do it.
What You’ll Need:
- Fat or oil: Animal fat (like tallow from game) or plant oils (like olive or coconut oil if you can scavenge them). About 1 kg of fat works well.
- Lye (sodium hydroxide): Made from wood ashes. Hardwood ashes (oak, maple) are best.
- Water: Preferably rainwater or distilled, about 1 liter.
- Optional: Herbs or essential oils for scent (if available).
Steps
Step 1 - Make Lye
Collect hardwood ashes in a bucket or barrel.
Drill small holes in the bottom, place it over another container, and pour rainwater through the ashes slowly. Collect the brown, slippery liquid (lye water).
Test its strength by seeing if it floats a raw egg, if it does, it’s ready.
If not, concentrate it by boiling or running it through more ashes.
Step 2 - Prepare Fat
Melt your fat or oil in a heat-resistant container (like a metal pot) over a low fire.
Filter out any solids using cloth or a fine mesh.
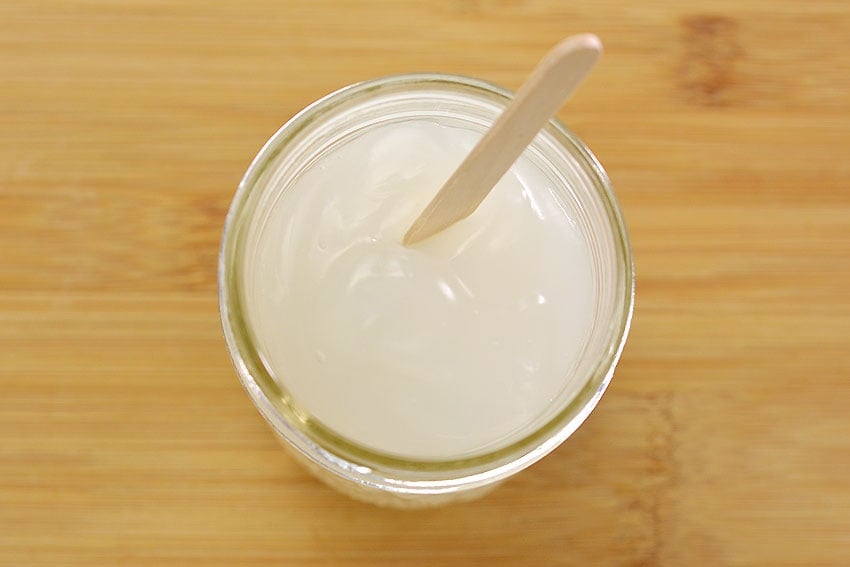
Step 3 - Mix Lye and Fat
Slowly add lye water to the melted fat, stirring constantly with a wooden stick.
The mixture should thicken like pudding over 30-60 minutes.
Keep the heat low to avoid scorching.
Step 4 - Mold and Cure
Pour the mixture into a mold (a wooden box or scavenged container lined with cloth). Let it set for 24-48 hours.
Remove the soap and cure it in a dry place for 4-6 weeks to harden.
Step 5 - Safety Note
Lye is caustic, wear gloves (or improvise with thick cloth) and avoid skin contact.
Work in a well-ventilated area.
Why It Works:
Saponification is a chemical reaction where triglycerides in fat react with lye to form soap molecules and glycerin.
The result is a surfactant that lifts dirt and grease, keeping you clean even in a gritty world.
2. Glass: Crafting from Sand and Fire
Glass is versatile for containers, tools, or even crude lenses.

While it requires high heat, you can make it with a strong fire and common materials.
What You’ll Need:
- Silica sand: Found in riverbeds or beaches. Aim for fine, clean sand (about 1 kg).
- Soda ash (sodium carbonate): Made from burning seaweed or plant material rich in sodium (like kelp or salty marsh plants). You’ll need about 200-300 grams.
- Lime (calcium carbonate): From crushed limestone, chalk, or seashells, about 100-150 grams.
- Fire: A wood fire reaching at least 1,200°C (a well-built kiln or furnace works).
- Tools: A clay or metal crucible, tongs, and a mold (like a clay form).
Steps:
- Prepare Soda Ash: Burn dried seaweed or salty plants, collect the ash, and crush it finely.
- Crush Lime: Pulverize limestone or seashells into a fine powder.
- Mix Ingredients: Combine 70% silica sand, 20% soda ash, and 10% lime by weight. Mix thoroughly.
- Heat: Place the mixture in a crucible and heat in a kiln or fire pit. It takes hours to reach 1,200-1,500°C to melt into a glowing liquid.
- Shape: Carefully pour the molten glass into a mold or shape it with tongs. Let it cool slowly to avoid cracking (annealing).
- Safety Note: Wear thick clothing and eye protection (scavenged goggles if possible). Molten glass is extremely hot and dangerous.
Why It Works:
Silica (SiO₂) forms the backbone of glass, but it melts at a very high temperature.
Soda ash lowers the melting point, and lime stabilizes the structure, preventing it from dissolving in water.
The result is a hard, transparent material you can shape into useful objects.
3. Glue: Sticking It Together with Hide
Glue is essential for building, repairing, or crafting tools. '
Animal hide glue is strong, versatile, and easy to make from scraps.
What You’ll Need:
- Animal hide or bones: From game or livestock (deer, rabbit, etc.). About 500 grams of scraps.
- Water: About 1-2 liters.
- Heat source: A fire and a pot for boiling.
- Container: For soaking and storing.
Steps:
- Prepare Hide: Collect hide scraps, sinew, or bones. Clean off excess fat or meat.
- Soak: Place the materials in water for 24-48 hours to soften.
- Boil: Simmer the scraps in water for several hours until they break down into a thick, gelatinous liquid. Skim off impurities.
- Strain and Dry: Strain the liquid through cloth to remove solids. Let it cool into a gel, then cut it into small pieces and dry them in the sun or near a fire.
- Use: To use the glue, reheat the dried pieces with a small amount of water until liquid. Apply warm to surfaces and press together.
- Storage: Store dried glue pieces in a dry place for long-term use.
Why It Works:
Boiling breaks down collagen in animal tissues into gelatin, a sticky protein that bonds surfaces when heated and applied.
This natural adhesive is surprisingly strong and perfect for woodworking or tool-making.
Final Thoughts
These recipes harness basic chemistry to create essentials from the world around you.
Soap keeps you clean, glass provides containers or tools, and glue holds your projects together.
With practice, you can refine these techniques to suit your needs, turning raw materials into vital supplies. I
n a post-apocalyptic world, a little chemical know-how goes a long way.
Stay resourceful, and keep experimenting!
ON SURVIVAL is a reader-supported publication. To receive new posts and support my work, consider becoming a free or paid subscriber.


Comments ()