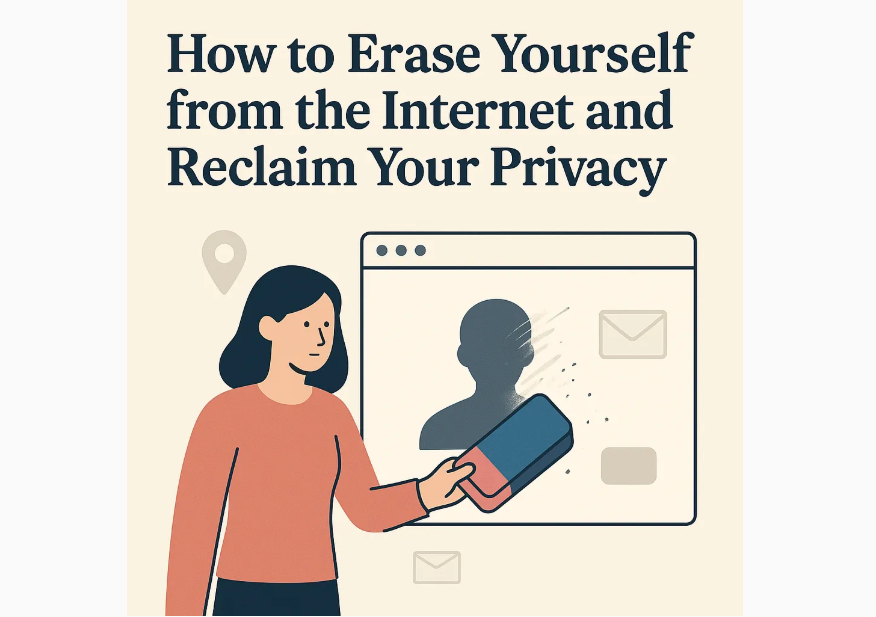
How to Erase Yourself from the Internet and Reclaim Your Privacy

In an era where every click, search, and post leaves a digital footprint, maintaining privacy online feels like an uphill battle.
Whether you’re concerned about data breaches, targeted ads, or just want to reduce your digital exposure, erasing yourself from the internet is a powerful step toward reclaiming control.
While completely vanishing is nearly impossible, you can significantly minimize your online presence with deliberate effort.

Here’s a practical guide to help you do just that.
Why Erase Yourself from the Internet?
Before diving into the how, let’s address the why.
Your digital footprint, social media profiles, public records, data broker listings, can be exploited by advertisers, scammers, or even malicious actors.
Personal details like your address, phone number, or shopping habits are often aggregated and sold without your consent.
Reducing this footprint not only protects your privacy but also limits the risk of identity theft, doxxing, or unwanted surveillance.
Step 1: Audit Your Online Presence
The first step is understanding where your data lives.
Start by conducting a thorough audit of your digital footprint:
- Google Yourself: Search your name, email addresses, and phone numbers (use quotes for exact matches, e.g., “John Doe”). Check variations of your name and include city or state if relevant. Explore the first few pages of results, including images and news sections.
- Check Social Media: Log into every platform you’ve ever used—Facebook, Twitter/X, Instagram, LinkedIn, TikTok, etc. Don’t forget older or niche platforms like MySpace, Tumblr, or forums.
- Review Data Broker Sites: Sites like Spokeo, Whitepages, and BeenVerified collect and sell personal info. Search for your name on these platforms to see what’s out there.
- Email and Account Check: Use a service like HaveIBeenPwned.com to see if your email or passwords have been exposed in data breaches. Also, check your email’s “Sent” folder or account recovery settings for clues about forgotten accounts.
Pro Tip: Create a spreadsheet to track every account, website, or platform where your data appears.
This will be your roadmap for deletion.
Step 2: Delete Social Media and Online Accounts
Social media is often the most visible part of your digital footprint. Deleting these accounts is a critical step:
Deactivate or Delete Accounts: Most platforms (e.g., Facebook, Instagram, Twitter/X) allow you to deactivate (temporary) or delete (permanent) your account. Go to the account settings or privacy section to find these options. For example:
Facebook: Settings > Your Facebook Information > Deactivation and Deletion.
Twitter/X: Settings > Privacy and Security > Deactivate Account.
LinkedIn: Settings & Privacy > Account Management > Close Account.
Download Your Data First: Before deleting, download an archive of your data for your records (most platforms offer this option).
Remove Old Posts: If deletion isn’t an option, manually scrub old posts, photos, or comments. Tools like TweetDelete or Redact can automate this for some platforms.
Unlink Connected Apps: Revoke access to third-party apps linked to your accounts (e.g., apps you signed into using Google or Facebook).
For less obvious accounts—like old blogs, gaming profiles, or shopping sites—search your email for sign-up confirmations.
If you can’t access an account, contact the platform’s support team to request deletion.
Step 3: Opt Out of Data Broker Sites
Data brokers scrape public records, social media, and other sources to create detailed profiles about you. Opting out is tedious but effective:
Identify Key Brokers: Focus on major players like Spokeo, Intelius, BeenVerified, and PeopleFinder. Check their websites for your profile.
Follow Opt-Out Processes: Each site has a unique opt-out procedure, often requiring you to submit a form, verify your identity, or email their support. For example:
Spokeo: Search for your profile, click “Opt Out,” and follow the prompts.
Whitepages: Submit an opt-out request via their privacy page.
Use Automation Tools: Services like DeleteMe or PrivacyDuck can streamline opt-outs for a fee, saving you hours of manual work.
Monitor Regularly: Data brokers often repopulate removed info. Revisit these sites every few months to ensure your data stays off.
Step 4: Secure Your Email and Accounts
Your email is the gateway to your online identity. Protect it and minimize its exposure:
- Use a Private Email: Create a new, private email address with a privacy-focused provider like ProtonMail or Tutanota. Avoid using this email for public-facing activities.
- Unsubscribe and Delete: Unsubscribe from newsletters, marketing emails, and unused services. Tools like Clean Email or Unroll.Me can help.
- Enable Two-Factor Authentication (2FA): Secure all remaining accounts with 2FA, preferably using an authenticator app like Authy or Google Authenticator instead of SMS.
- Close Unused Emails: If you have old email accounts (e.g., Yahoo, Hotmail), download any important data and delete them.
Step 5: Limit Public Records and Search Engine Exposure
Public records and search engine results can expose sensitive details. Here’s how to tackle them:
- Contact Websites Directly: If your info appears on a site (e.g., a blog, directory, or forum), email the webmaster to request removal. Be polite but firm, citing privacy concerns.
- Suppress Search Results: Google doesn’t “remove” results, but you can request to suppress outdated or sensitive info via their Removal Request Tool. For example, you can flag exposed personal details like your address or phone number.
- Obscure Public Records: Some public records (e.g., voter registrations, property records) are harder to remove. Check your state’s laws—some allow you to opt out of public listings or request anonymization.
Step 6: Adopt Privacy-First Habits
Erasing your past online presence is only half the battle. Prevent future exposure with these habits:
- Use a VPN: A virtual private network (e.g., NordVPN, ProtonVPN) masks your IP address, making it harder to track your online activity.
- Switch to Privacy-Focused Tools: Use browsers like Brave or Firefox, search engines like DuckDuckGo, and messaging apps like Signal to minimize tracking.
- Avoid Oversharing: Be cautious about posting personal details, even on “private” accounts. Assume anything online can become public.
- Use Aliases: For new accounts, consider using pseudonyms or disposable email addresses (e.g., via Temp-Mail or Burner Mail).
- Freeze Your Credit: To prevent identity theft, freeze your credit with Equifax, Experian, and TransUnion. This restricts access to your credit report.
Step 7: Stay Vigilant
Erasing yourself from the internet isn’t a one-and-done task. New data can reappear, and platforms may change their policies. Set reminders to:
- Re-check data broker sites every 3-6 months.
- Google yourself periodically to catch new exposures.
- Update passwords and 2FA settings regularly.
- Stay informed about privacy laws and tools via resources like the Electronic Frontier Foundation (EFF) or PrivacyTools.io.
Challenges and Realities
Completely erasing yourself from the internet is nearly impossible due to archived data, third-party backups, and public records.
Some info (e.g., court records, government databases) may remain out of your control.
Additionally, opting out of certain platforms might limit your access to services or communities. Weigh the trade-offs and focus on minimizing, rather than eliminating, your footprint.
Final Thoughts
Erasing yourself from the internet is a liberating but time-consuming process.
By auditing your presence, deleting accounts, opting out of data brokers, and adopting privacy-first habits, you can drastically reduce your digital footprint and regain control over your personal information.
Start small, tackle one step at a time, and stay persistent.
Your privacy is worth it.
Have you taken steps to reduce your online presence?
Share your tips or challenges in the comments, and let’s keep the conversation going!
Disclaimer: This guide is for informational purposes only and not legal advice. Privacy laws vary by region, so research your local regulations for specific guidance.
Thanks for reading ON SURVIVAL! This post is public so feel free to share it.


Comments ()