What Is a CyberDeck and How to Build One
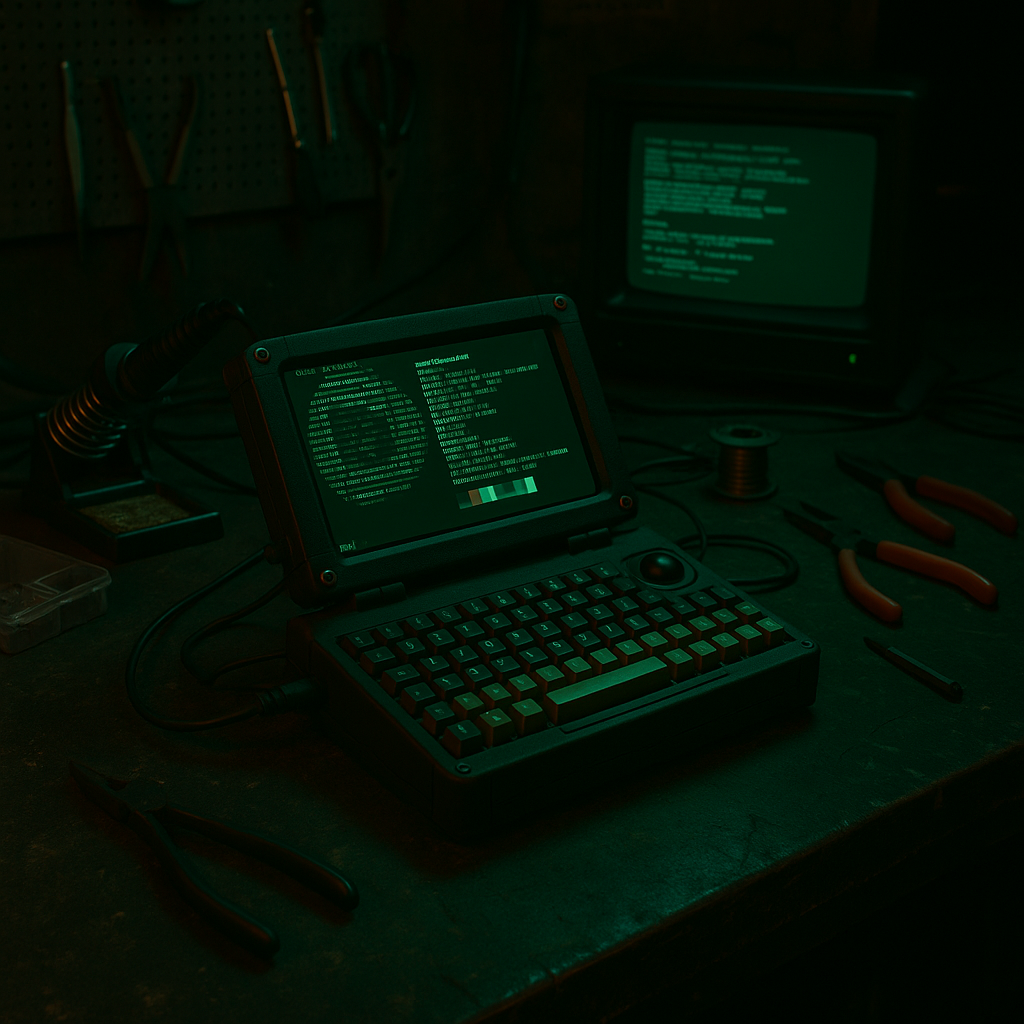
CyberDecks are custom-built portable computers, often running Linux or lightweight OS builds, designed for privacy, mobility, and aesthetics that scream retro-futurist rebellion.
The Rise of the CyberDeck
In cyberpunk fiction, a CyberDeck was the ultimate hacker’s weapon, a portable terminal used to jack into the Matrix, crack corporate mainframes, and navigate digital dystopias.
In real life, that fantasy has evolved into a thriving maker movement.
Today’s CyberDecks are custom-built portable computers, often running Linux or lightweight OS builds, designed for privacy, mobility, and aesthetics that scream retro-futurist rebellion.
They blend art, engineering, and personal expression, the physical manifestation of digital self-sovereignty.
What Exactly Is a CyberDeck?
A CyberDeck is essentially a DIY portable computing system, think of it as a personal workstation you design yourself.
At its core, it’s made from off-the-shelf components like a Raspberry Pi, custom mechanical keyboard, display, and 3D-printed or repurposed case.
Unlike modern laptops or tablets designed for consumer convenience and surveillance capitalism, a CyberDeck is built for control, customization, and resilience.
It’s a tool for:
- Hackers, developers, and sysadmins
- Radio and mesh-network enthusiasts
- Privacy advocates and off-grid tech builders
- Artists, tinkerers, and futurists
Buy & Sell Bitcoin, Dollar Cost Average management abd pay your bills with Bitcoin on the the best Bitcoin only Exchange.
Core Components of a CyberDeck
Here’s what most CyberDeck builds have in common:
1. Compute Core
Your CyberDeck’s brain.
Common choices include:
- Raspberry Pi 4 / 5 -Small, powerful, and Linux-friendly.
- LattePanda or Udoo Bolt - For x86 power in a small footprint.
- Intel NUC or mini PC - For high-end builds with Windows or Linux.
2. Display
Compact and efficient:
- 7" or 10" HDMI touchscreens (Waveshare, GeekPi, etc.)
- Fold-out or detachable displays for flexibility
- Some builders use repurposed tablet screens with driver boards
3. Keyboard and Input
- Mini mechanical or low-profile keyboards (ortholinear styles are popular)
- Integrated touchpad, trackball, or tiny joystick
- Split or detachable keyboard options for ergonomic setups
4. Power Supply
- Internal lithium-ion battery pack (often 10,000–20,000 mAh)
- Recharge via USB-C or solar input
- Optionally include a UPS HAT for Raspberry Pi
5. Enclosure / Chassis
This is where the magic happens.
You can:
- 3D print a custom case (Thingiverse has tons of open designs)
- Modify a Pelican case, old radio shell, or ammo box
- Build with wood, aluminum, or carbon fiber panels for style and strength
6. Connectivity & Expansion
- Wi-Fi 6 + Bluetooth 5
- Optional LoRa or Meshtastic radio module
- GPS, SDR, and custom antenna ports
- External ports for USB, Ethernet, HDMI, audio, etc.
Software & OS Options
Most CyberDecks run Linux, for freedom, security, and customization.
Popular OS choices include:
- Raspberry Pi OS - Beginner-friendly and well supported
- Kali Linux - For penetration testing and security research
- Arch / Manjaro - For performance and flexibility
- Tails / Qubes OS - For privacy and compartmentalization
- NixOS - For reproducible builds and system purity
Install your favorite tools:
- VPNs / Tor for secure networking
- Signal, SimpleX, or Nostr clients for communication
- Local LLMs or AI assistants (run open models like Ollama)
- Retro terminal themes (Cool Retro Term, Neofetch, Pipes.sh)
Step-by-Step: How to Build Your Own CyberDeck
Step 1: Plan Your Use Case
Ask yourself:
- Will this be your daily driver, mobile dev box, or mesh terminal?
- Do you want something portable, rugged, or artistic?
Sketch your concept or 3D mockup before buying parts.
Step 2: Gather Components
Buy your compute board, display, battery, keyboard, and any accessories.
Sites like Adafruit, Pimoroni and SparkFun are CyberDeck goldmines.
Step 3: Assemble the Hardware
- Mount your display and keyboard first.
- Secure the compute core and battery.
- Route cables neatly (use ribbon cables and cable sleeves).
- Add switches, fans, LEDs, or meters for style and function.
Step 4: Install the OS
Flash your chosen Linux distro using Balena Etcher.
Configure:
- Network settings
- SSH / VNC access
- System hardening (disable root login, firewall, etc.)
Step 5: Customize the Interface
Make it yours:
- Retro CRT or green-on-black terminal themes
- Custom wallpapers, ASCII boot screens, and command aliases
- Set up scripts for quick actions like launching Nostr, opening SDR software, or activating VPN
Step 6: Field Test
Take your deck into the real world.
Try connecting to public Wi-Fi, mesh networks, or offline LAN setups.
Tune performance and power management.
Optional Add-Ons and Mods
Take it further:
- Solar charging panel
- Mesh radio (LoRa / Meshtastic)
- Encrypted external SSD for data vaults
- Integrated cameras or sensors
- Custom 3D-printed keycaps or panels
- EMP shielding (for hardcore preppers)
Philosophy Behind the CyberDeck Movement
The CyberDeck isn’t just about tech — it’s about philosophy.
It’s a rebellion against sealed, corporate-controlled hardware.
It’s a declaration that your tools should serve you, not the surveillance state.
Building a CyberDeck means:
- Owning your hardware
- Understanding your software
- Reducing dependency on Big Tech infrastructure
- Carrying your digital world in your hands
It’s a physical act of digital self-sovereignty.
Resources and Inspiration
- CyberDeck Café – Active Reddit community
- Hackaday CyberDeck Hub – Showcase of DIY builds
- Thingiverse CyberDeck Designs
- PiMyLifeUp Tutorials – Raspberry Pi guides
- Meshtastic Project – For off-grid comms integration
Conclusion: Build the Deck, Own Your Future
In a world of disposable devices and locked-down ecosystems, a CyberDeck is a tool of independence.
It’s your offline backup, your portable command center, your digital bunker.
And it’s proof that creativity, freedom, and technology can still coexist.
So grab your tools, fire up your printer, and start building.
Because in the world ahead, those who build will survive.

Comments ()